Happy Thursday MainStreeters! Last week I shared a DIY Nightmare Before Christmas tutorial for the wreath featured in the iconic holiday Tim Burton Disney Movie. If you haven’t had enough DIY this holiday season, I’ve got you covered. In this blog, I am going to walk you through creating an enormous Mickey or Minnie shaped pine wreath like the ones that used to hang on Main Street USA. If you followed last week’s tutorial, I provided a shopping list of items to help you get through this week’s project. If you didn’t snag the items, no worries, you can pick some up and follow along at your own convenience. Here is a refresher on what you will need:
- 2 medium sized pine wreaths
- 1 jumbo sized pine wreath
- Indoor/Outdoor Christmas lights (your choice of color)
- Christmas ornaments of varying sizes (preferably not fragile)
- Thick Floral Wire (not pictured, I used thin wire)
- Floral Pins or Floral Picks (optional)
- Ornament Hooks
- Festive Ribbon (wired or unwired)
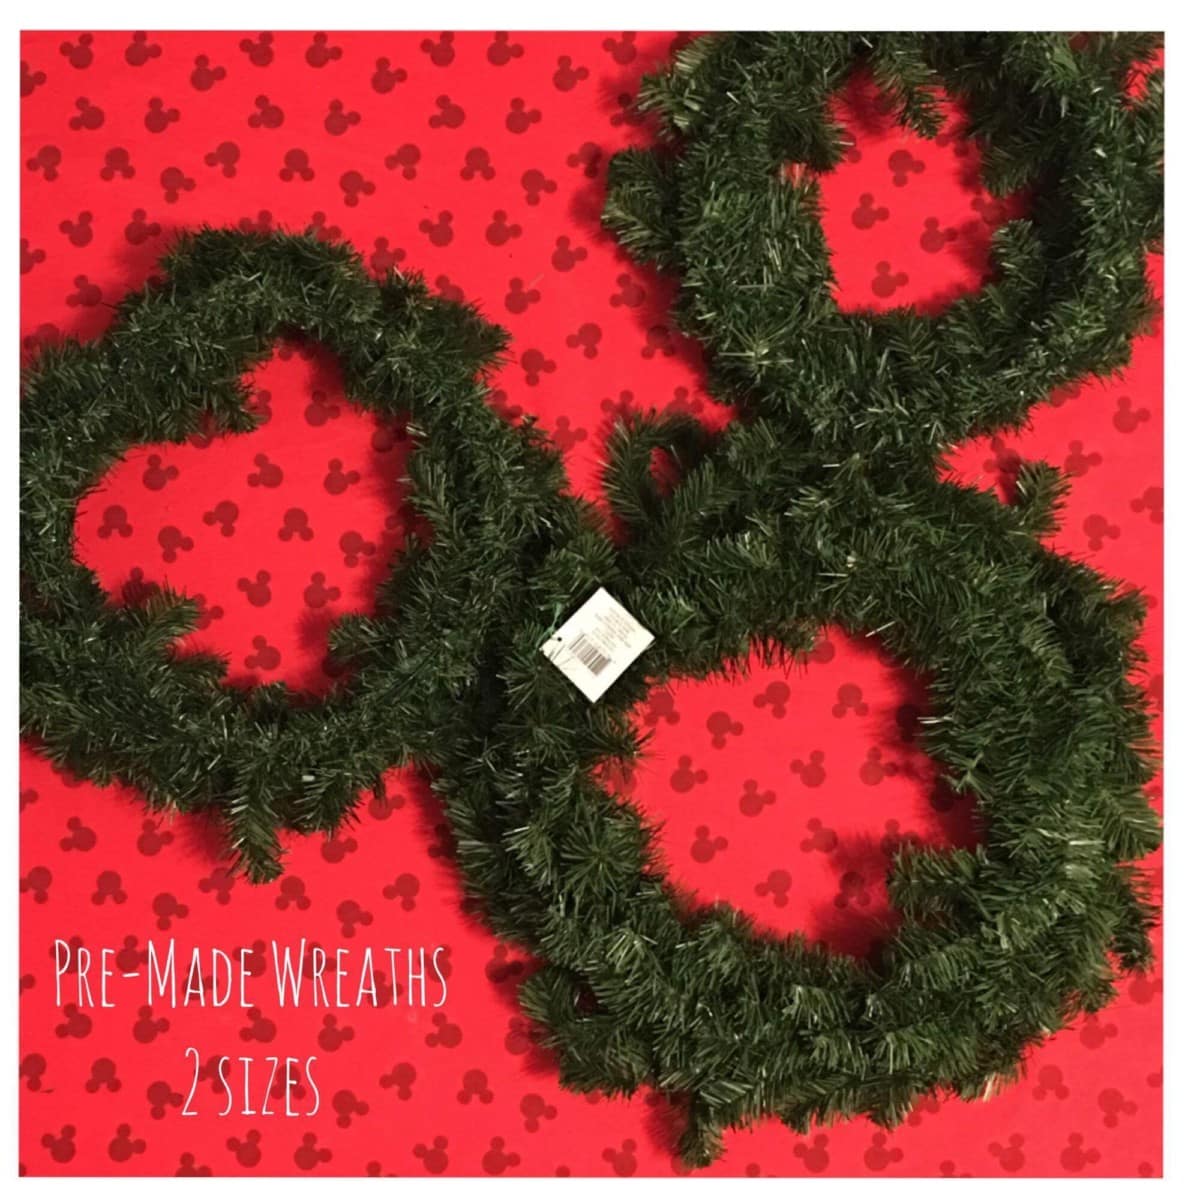

I was able to snag the majority of my shopping list on Black Friday at deeply discounted prices. For all three pine wreath’s I paid a total of $10, and the 100 ornaments were a doorbuster deal at my local Michael’s store for $5. (not all of which will be used on this wreath, but rather another DIY coming your way soon). The festive wired ribbon and floral wire I already had at home, as well as the Christmas lights. However, I have seen some great deals on those items, you just have to keep your eyes peeled for Holiday sales. Now, let’s get down to it.
Step One: Create your Mickey
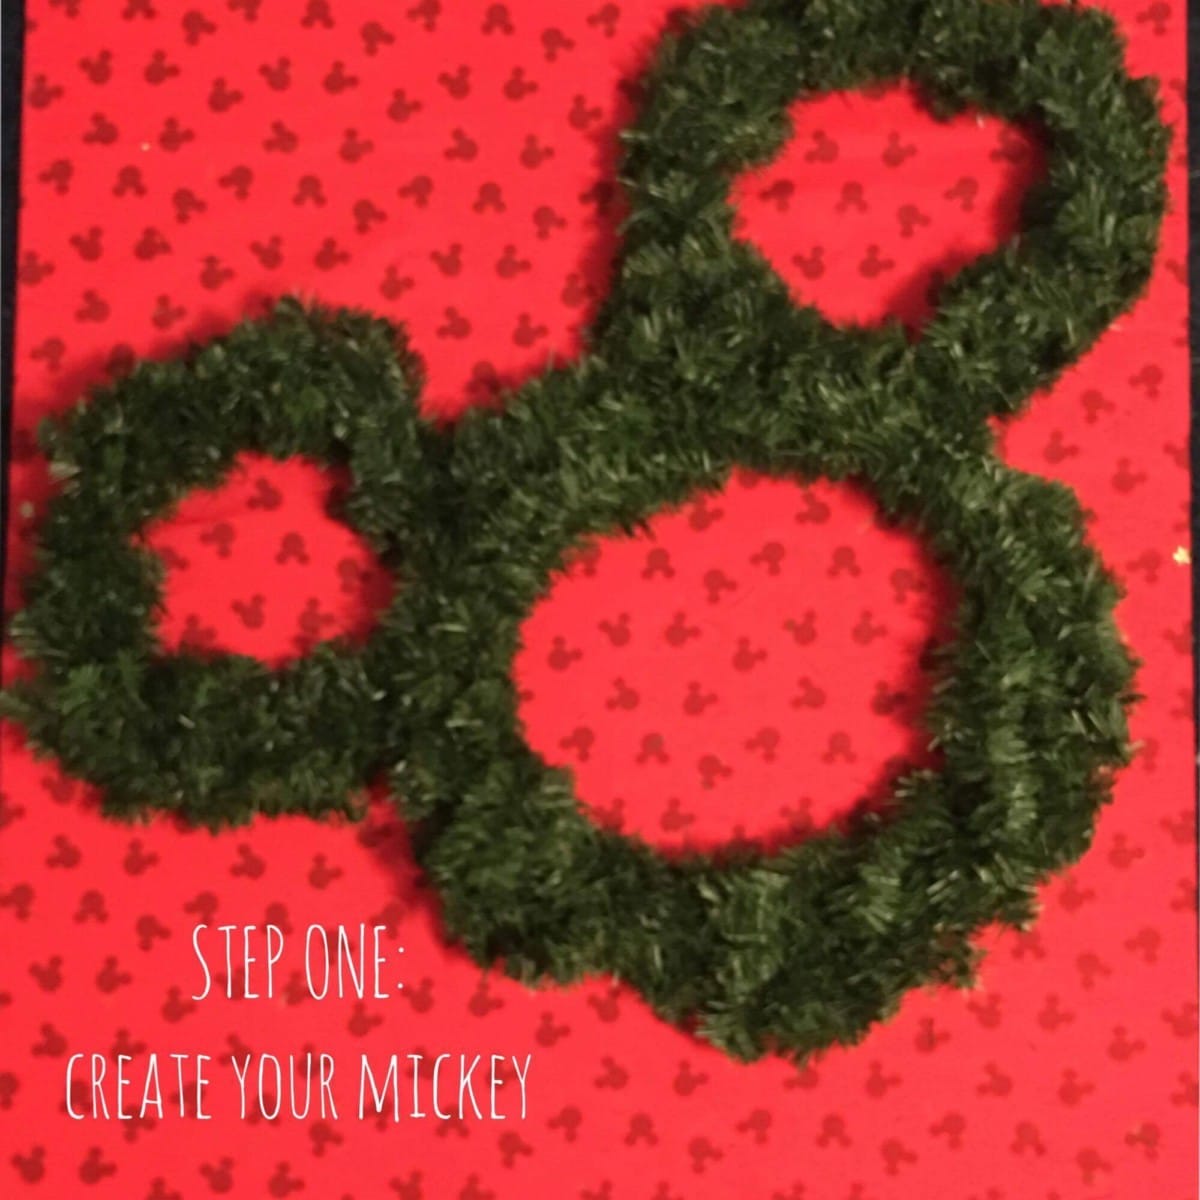
The wreaths I purchased came on malleable metal backings so I was able to squeeze the smaller wreaths to create a more oblong shape. I placed them as I wanted them and took the thin floral wire to wrap the bottom of the “ears” onto the top of the “head”.
The wreaths I purchased also have wire pine needles/branches that were bendable so as an extra measure, I securely wrapped some of those around the circular metal wreath backing. Doing so made them a bit sturdier. You will find the ears are still floppy at the juncture between the wreaths, this is okay, but if you want them to be incredibly sturdy, use a thicker wire to wrap the wreaths together.
Step Two: Light Up Mickey
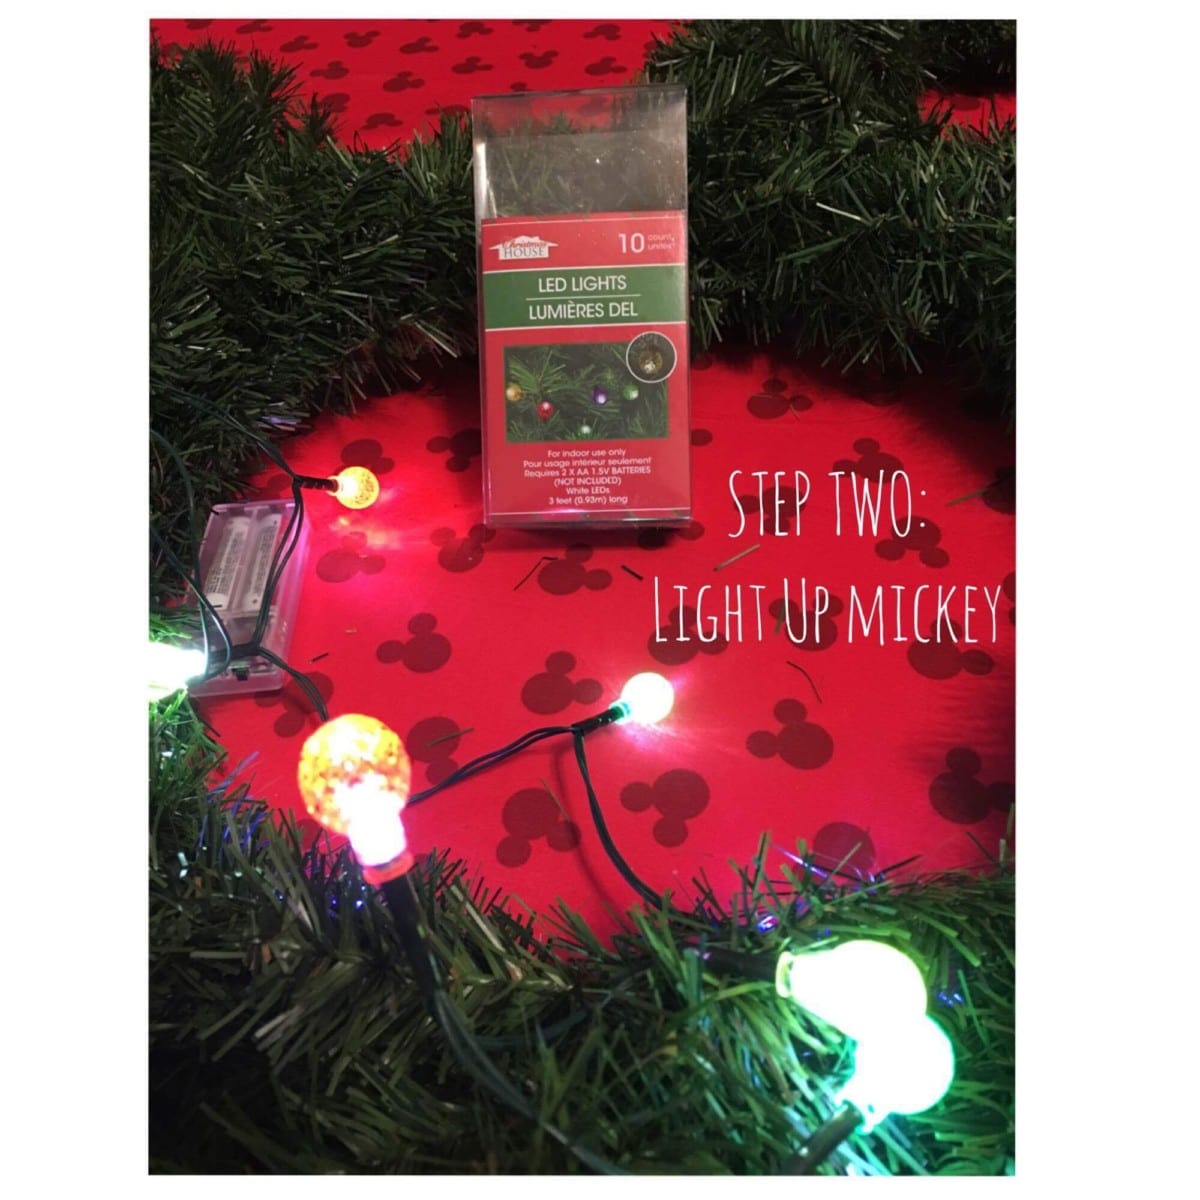
The LED lights pictured in the material shots didn’t make me happy, plus they were really long. I decided I needed some color in my wreath, so I dug in my craft room and found these battery operated LED Christmas lights that I purchased at a dollar store. If you decide to use battery operated lights, you can secure them to the wreath using thin floral wire. If you have a metal backing on your wreath like mine did, and as you can see in the photo, you can nest the battery pack in the wreath, but still secure it with wire and make sure the ON/OFF switch is easily accessible.
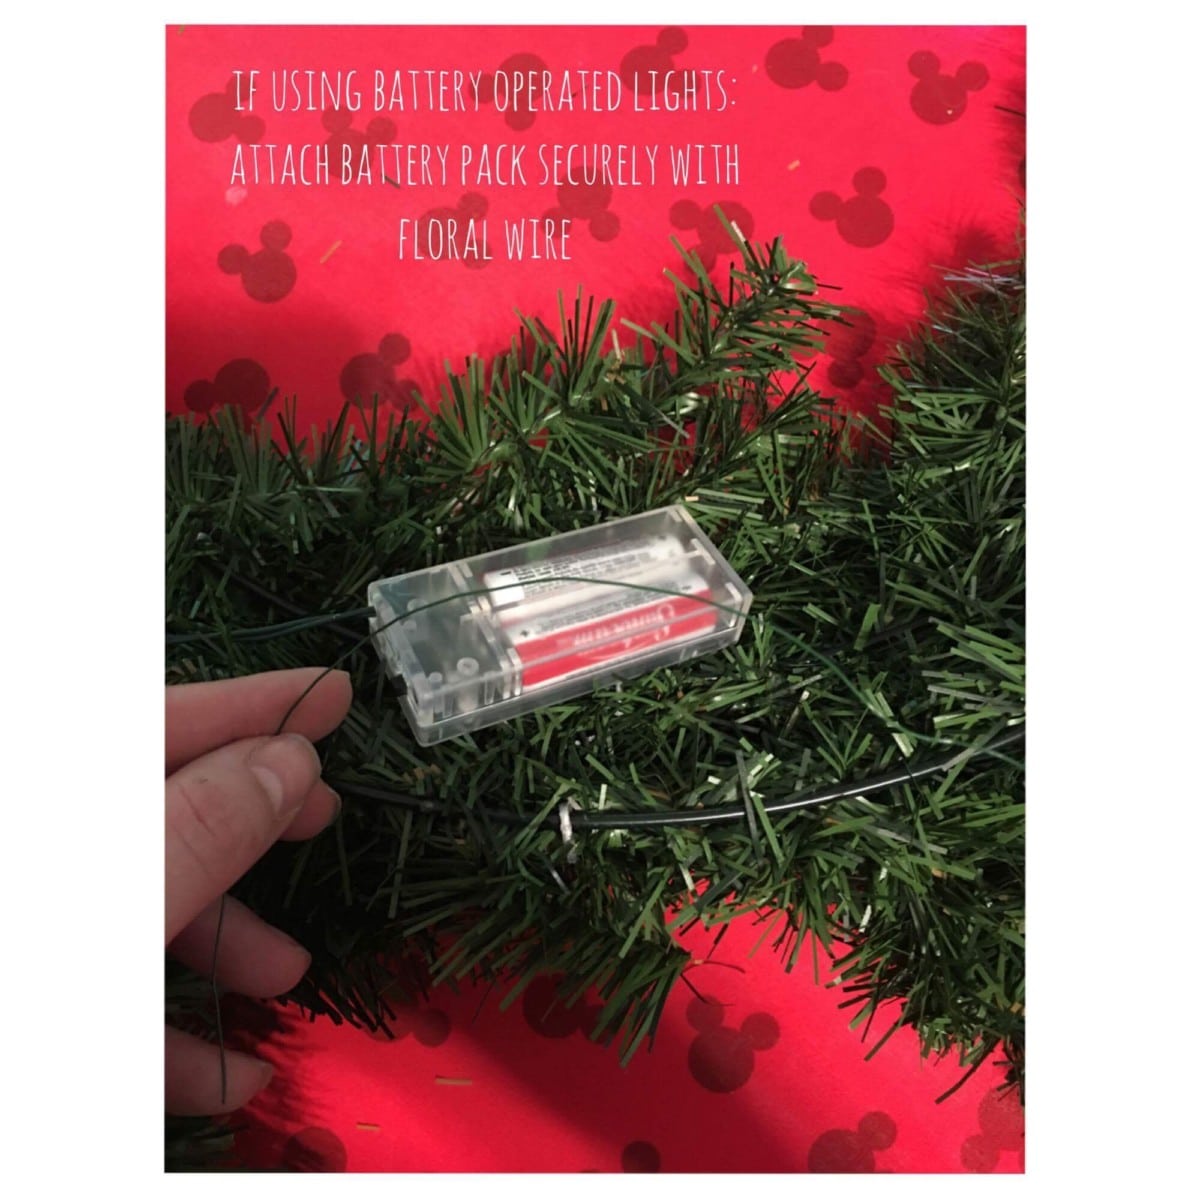
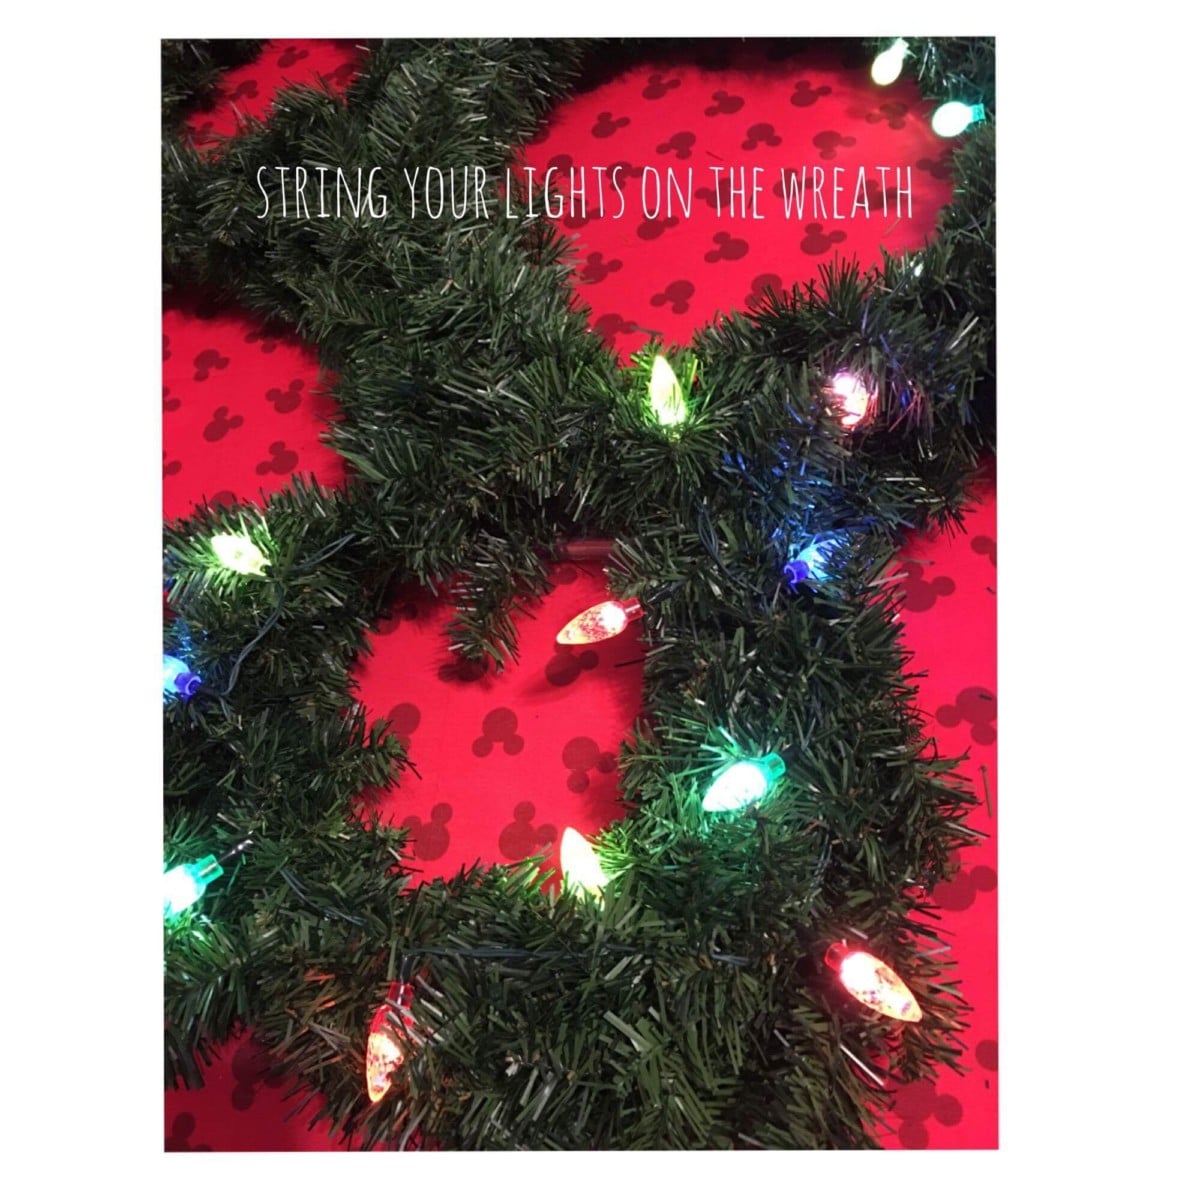
Once you decide on your light source string or wrap your lights on your wreath. For people whose wreaths do not have metal pine branches, you can use the floral picks or pins to secure the lights to the wreath. If you have the bendable branches, use those to hook through the wiring of your lights. I decided to nest my lights on top and not wrap them around and thru the wreath. If you use lights that plug in and are long, you may want to explore the option of wrapping the lights around and thru the wreath. There is no wrong way to light up your wreath.
Step Three: Add your Bow
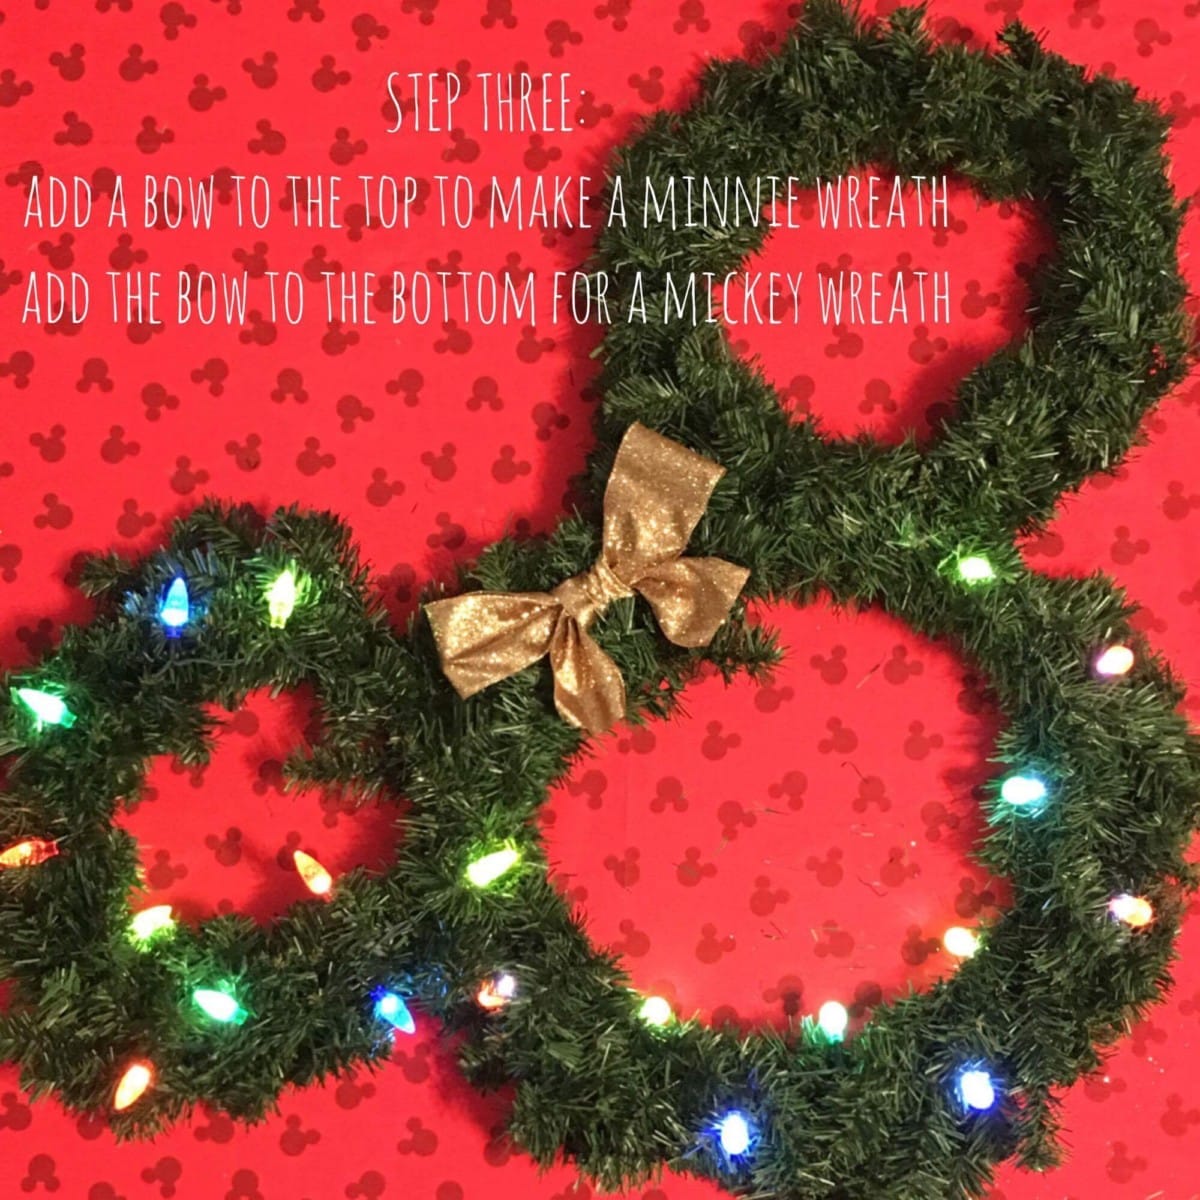
Take the festive ribbon and create a bow of whatever size you see fit. I used wired ribbon because I could puff out the bow how I wanted. To make a Minnie wreath, place the bow in the top middle of the wreath, to make a Mickey place it in the bottom middle like a bow tie. Again, this is a DIY project that really allows you to be as creative as you want, so if you don’t want to use a bow, you don’t have to. You will see in the next couple pictures that I left sections of my wreath “incomplete” so readers could get a feel for what it would look like without all the razzle dazzle.
Step Four and Five: Add Ornament and Hang
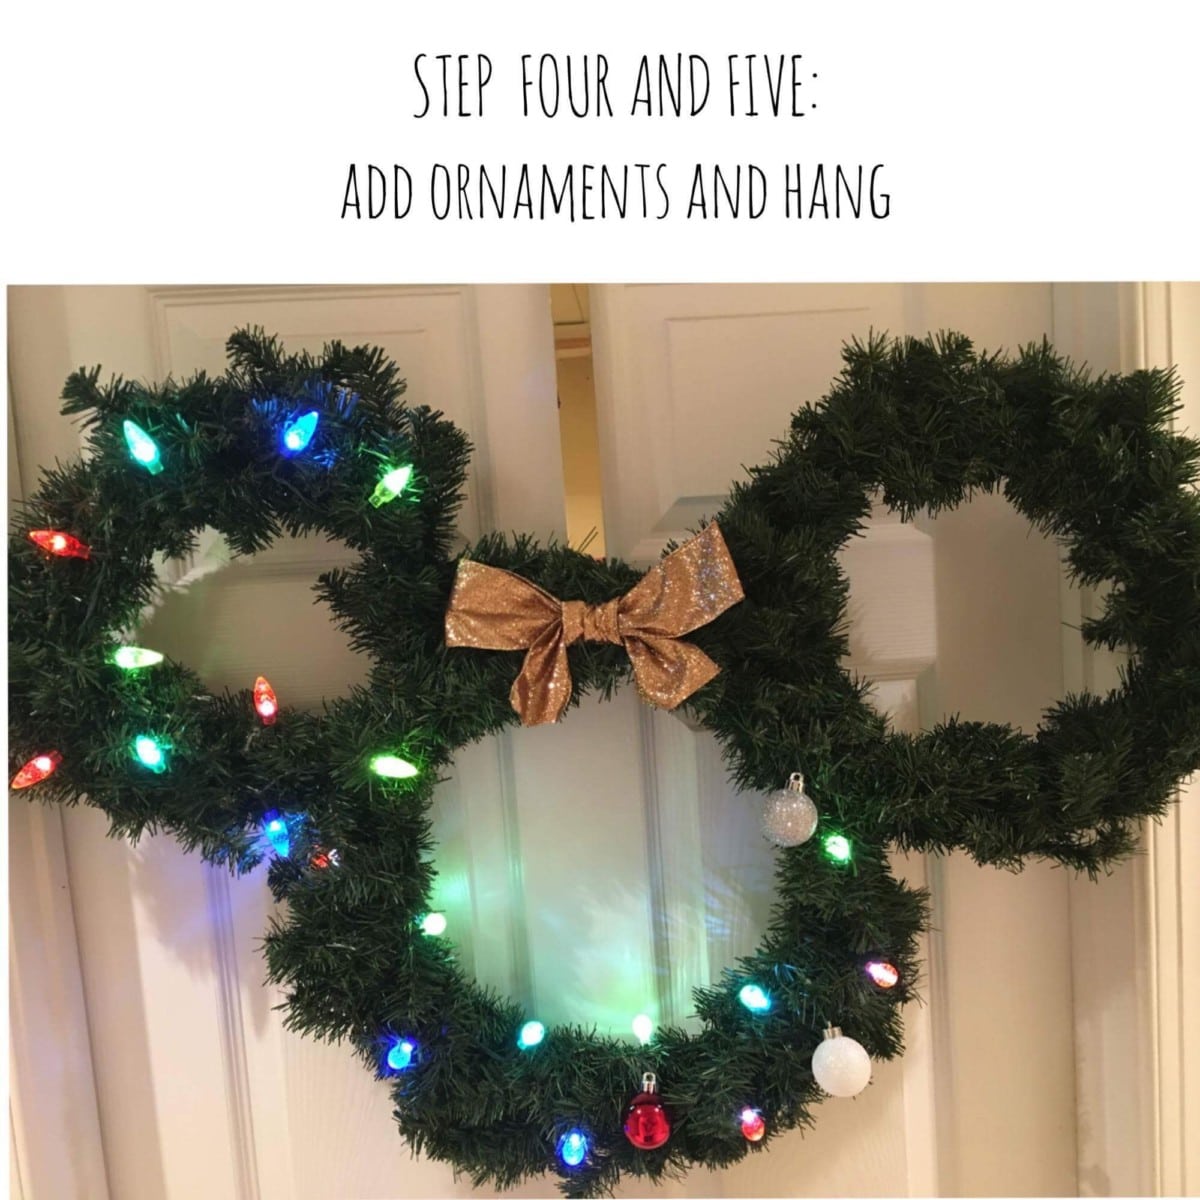
You can add ornaments, or you can skip it. Everyone’s got different design ideas, and that is 100% okay. Make your wreath as decorated or understated as you like, this is a reflection of what you like, and what you are comfortable with on a DIY project. Remember, there is no wrong way to decorate your wreath. As you can see in the photo, I had one side of the wreath with just lights, another with lights and ornaments, and the top ear completely bare. I wanted everyone to see some options to help the creativity bloom.
A very important note; this wreath will be HEAVY. You will want to hang it up using sturdy materials. The wreath will take up approximately 2-3 feet. I placed ours up on a door in the house to showcase size, but my husband reminded me that our doors are larger than normal because our house is handicap accessible, and every door and entry way is wide enough for a motorized wheel chair. With that said, please keep that in mind when you are making this wreath. It is not little, and it will be heavy. A normal wreath holder will likely bend if you try to hang it on the door.
There you have it friends, an enormous DIY Mickey Wreath. I really hope you all enjoy this project, and I would love to see what you create. Make sure to post pictures to our Facebook page or comment with your finished projects. If you’re a visual learner and you want a YouTube tutorial on how to make this wreath, let us know! We are definitely exploring new avenues of connecting with our readers, and bringing Disney magic directly to you.
- Will Galaxy’s Edge be available during Extra Magic Hours? - May 23, 2019
- Three Limited Disney Rewards for Summer - May 16, 2019
- Walking in Walt’s Footsteps - May 9, 2019


