Do It Yourself Mousekeeping Envelopes by Jennifer Delbiondo
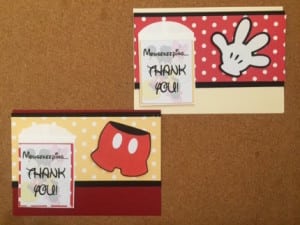 My family’s trip “home” is fast approaching. I was making a list of things that still needed to still be done before we leave. First thing on the list was Mousekeeping. Last trip we did something simple, stickers on an envelope followed by some coloring from my niece, then 5. I kept Mousekeeping on my list for this trip because I wanted to do something a little bit more special. We are celebrating a lot this trip! My mom turns 60 years old!! After raising four kids (all girls!) by herself, she deserved special little surprises on her trip. I went online and did some research on Mousekeeping envelopes. I saw some great ideas but I wanted to do something that was my OWN idea. I decided to go to my local craft store.
I walked up and down aisles, all around the store for about an hour looking for different cardstock and envelopes. After about the sixth time, I realized I had kept noticing these small envelopes and thought, “those would be cute to put money in, but how would they see something so small?!”
That’s when the idea came to me!! Cards!! This way you can put the little envelopes on the cards and stand them up on the dresser or on top of the TV. No matter where they stand, in plain sight, they will be magically noticed by the Mousekeepers.
I chose a pack of Red and Yellow 5×7 cards. Then it was time to go to the card stock isle! I get lost in that isle! They have so much! I wanted to keep it simple so I chose Mickey Mouse colors: Red, Yellow and Black. I decided on the yellow and white polka dot for the red cards. For the yellow cards, I went with the red and white polka dot design. To make the polka dots stand out more, picked up some black card stock to layer underneath the polka dot card stock. Then I picked up some double sided sticky tape dispensers and I was on my way! The woman that checked me out said to me that all of my supplies made her think of Mickey Mouse! Great! I then explained that they were going to be for the Mousekeepers when we go to Disney!!
Let’s make some magic!
*Based on home many nights you will be in Disney, will depend on how much you supplies you will need to cut out. Below is based on my trip of 7 nights and 2 rooms.
Supplies- these supplies make 14 Mousekeeping cards
1 package Red 5” x 7” greeting cards
1 package Yellow 5” x 7” greeting cards
1 pack of 8.5” x 11” white cardstock
1 pack of 8.5” x 11” black cardstock
5 – 12”x12” Red and White Polka dot cardstock squares
5 – 12”x12” Yellow and White Polka dot cardstock squares
1 pack of 3.94”x2.6” bags (can be found in the same isle as the cards)
A couple rolls of the adhesive tape runners (I usually get the value pack at the store. It usually comes with about 4 or 5 rolls. It is much less messier then glue.)
So now it was time to start planning and cutting!
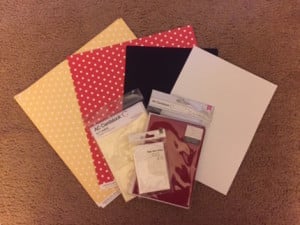
- Take cards out of package- should have 14 – figure how many you are making
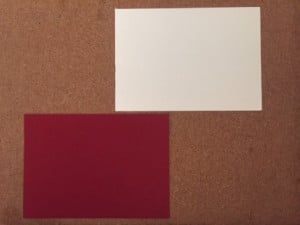
- Cut 14 3.25”x7” squares out of black cardstock
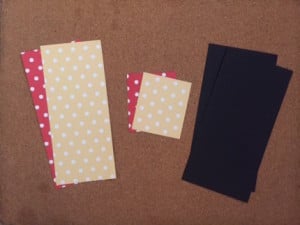
- Cut 14 3”x7” squares out of polka dot cardstock (7 Yellow Polka Dot and 7 Red Polka Dot)
- Create “Thank You” images on your computer using “Waltograph” font with a graphic box measuring 2.25” x 3.75“. To add a bit of extra magic, take your clipart of Mickey and Minnie Mouse, lightened, so it was just visible behind the wording.
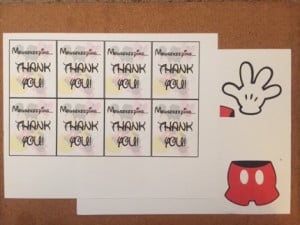
- Cut and paste boxed “Thank You” tiled on white cardstock.
- With the extra polka dot card stock, I wanted to make that little envelope stand out more, by cutting out 14 2.5”x3” pieces and put them to the side.
- Using double-sided adhesive tape, fasten the polka dot cardstock atop the black cardstock leaving a bit at the top and bottom
- Making sure the cards are open at the bottom, leave about a half inch at the top. With double-sided adhesive tape, fasten assembled cardstock on to the red or yellow card. Print out your images on white cardstock. Always remember, white card stock rather than regular printer paper makes it easier to stick on to the other card stock. The card stock is also thicker than printer paper, so there is less of a chance of seeing through the glue.
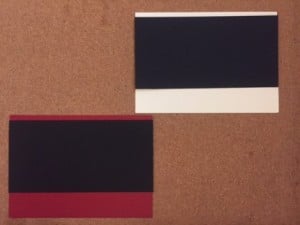
- Cut out your images and place them to the side.
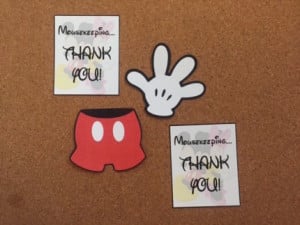
- Adhere double-sided tape to the back of the small envelopes and attach to the cards leaving about a half inch from the left side.
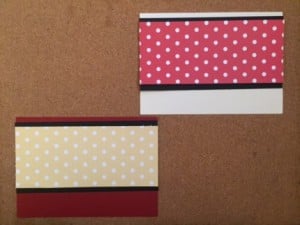
- Fasten double-sided tape on back of clip art images. Place them in center leaving just enough space between the edges and the envelope. (Centering was my preference, you can place them as you would like)
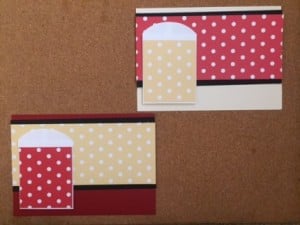
- Take “Thank you” squares and fasten, with double-sided tape, to the cards.

Added suggestions: For the clipart, I thought after I had done them that it would have been cute if I had found ones that I could have my niece and nephew color! It would give it just a little bit more charm! You can also get some great Disney stickers at the store and use those also!
This truly was a fun project for me! Actually… Anything Disney is fun for me!! I hope I didn’t make this sound too complicated!
- Guide to Disneyland After Dark: Pride Nite - April 5, 2024
- WATCH: Imagineers Launch New Video Series - April 4, 2024
- New Audio-Animatronics Revealed for Tiana’s Bayou Adventure - April 4, 2024


