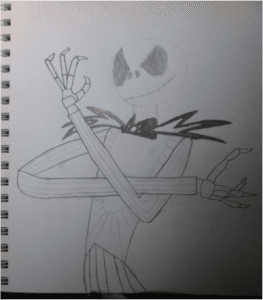
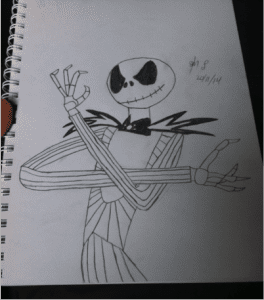
How to Draw: Jack Skellington by Guest Blogger Sam Pratley
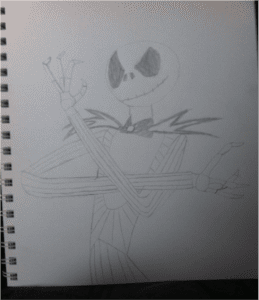
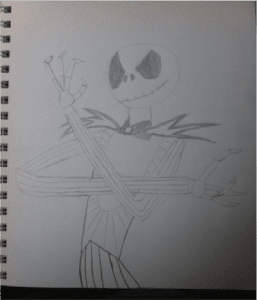
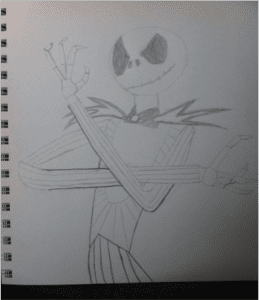
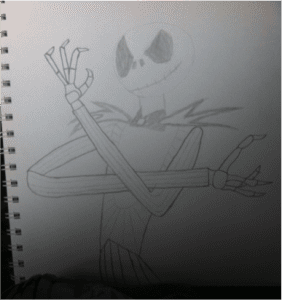
Kia Ora y’all just your favourite Reindeer Avenger here, this is the second in a series of How to Draws from me. This first one is How to Draw: Jack Skellington from A Nightmare Before Christmas. Now I warn you that I have a very different style of drawing than the normal artist, normal artists use the theory of “the shape of this head is nearly a circle, draw a circle for now and we’ll get back to it later” but I draw like “I see a line and I draw it, if it doesn’t look right then I’ll re-draw it”. If you do happen to follow along with the steps and do end up drawing Jack, please share it, I’d love to see how others drawings look. If you can’t follow along with the instructions because I’ll admit they might be a bit vague, I’ll include pictures of the process. Please enjoy and attempt for yourself. J
Preparation:
I use a 2B pencil for darkening lines, a 3H pencil for the basis of the drawing before darkening, an eraser to erase mistakes and an A4 piece of paper in which I draw on (use it portrait for this drawing), oh and a pencil sharpener
 Step 1: This drawing starts from the middle of the bottom of the page with a few straight lines; this is the body of Jack (See picture for more details on placement of the lines)
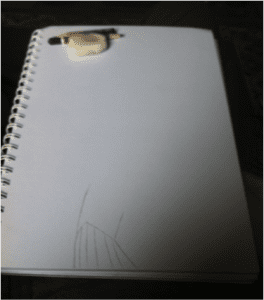 Step 2: This is where the first sign of the arms are seen, just a few lines at this point but more will be added later. Also the body is extended between the crossing arms. (See picture for more details on placement of the lines)
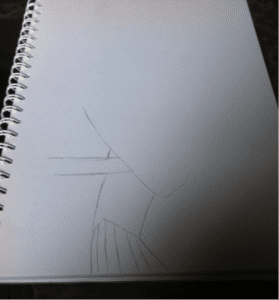 Step 3: The arms are fully drawn as well as a shoulder (See picture for more details on placement of the lines)
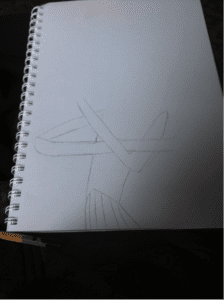 Step 4: The hands took me forever to do but I wish you better. (See picture for more details on placement of the lines)
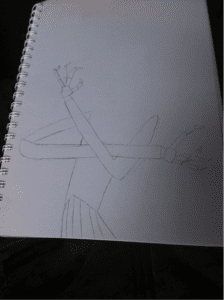 Step 5: Draw the bow now and shade the black parts. Now I don’t take notice of small details like Jacks bow but if it looks wrong to you then by all means change how you draw it, I only draw what I see. (See picture for more details on placement of the lines)
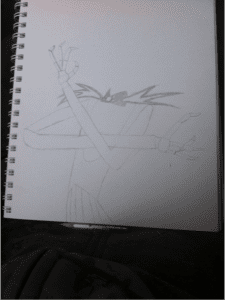 Step 6: Add in the head and you’ve drawn the Pumpkin King, his head is in a position where you can draw whatever expression you want and it should still look right. (See picture for more details on placement of the lines)
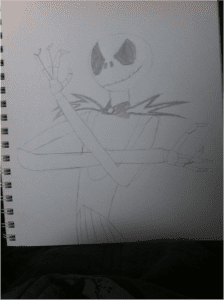 Step 7: Add in the lines of his clothes if desired.
Please share your drawings with me! Sam
About Sam (by Aut)
Sam is one of the member’s of TMSM’s Facebook group TMSM Fan Nation. Sam is in High School in Dunedin New Zealand and is one of the many members of the Nation that lives outside of the United States that contributes to threads and topics regularly adding to the “wonderfulness” of the Nation. One of the neatest things about Sam is he is an artist and he will share his latest project with the group for insight and input.


