I saw this great project from Erin Glover, Social Media Director Disneyland Resort, and just had to share it. This is one that I plan to do, when I have some free time. I can see doing this with all the different park maps over the year from the various parks.
I’ve got another “Show Your DIY Disney Side” craft to share with you today, with step-by-step instructions for turning your Disneyland Resort guide maps and tickets into handmade keepsakes. Not much of a crafter? No need to fear! These projects are quick, easy and fun to make. All it takes is a little faith, trust and pixie dust (and a few supplies from the art supply store)!
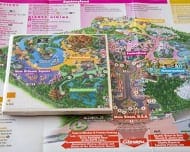
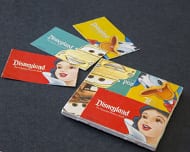
Whether you’re giving these coasters as a gift or keeping them for yourself, they’re sure to add a magical touch to any table. I’ll chEARS to that!
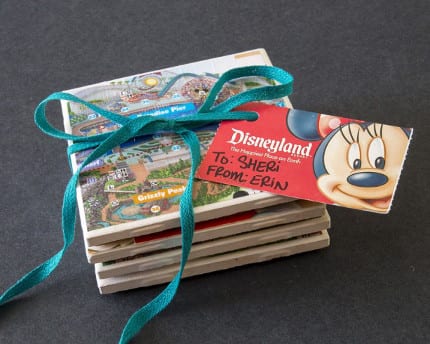
Supplies:
- Square ceramic tiles (Mine were 4 ½” x 4 ½”.)
- Disneyland Resort guide map, theme park tickets or any other decorative paper, cut into 4” squares
- Foam brush
- All-in-one decoupage glue, sealer and finish
- Waterproof acrylic sealer
- Thin cork, cut into 4” squares
- Heavy-duty crafting glue
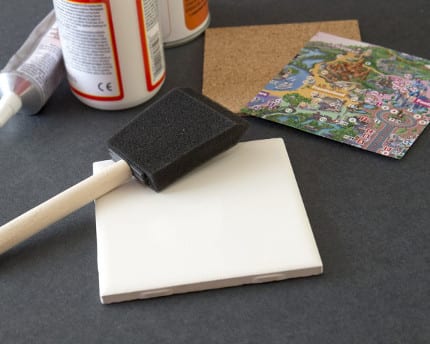
Step 1: Wipe the tile with a damp cloth to remove smudges and fingerprints.
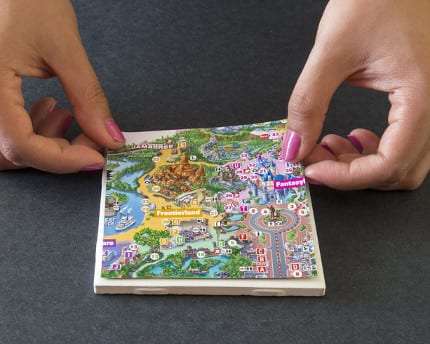
Step 2: Use the foam brush to paint the tile with a generous coat of decoupage glue. Immediately center paper on the tile, pressing firmly on one edge and working your way to the opposite end to get rid of air bubbles and creases. Allow to dry for 10-15 minutes.
Tip: Be sure to apply additional pressure to the edges and corners since they’re prone to peeling.
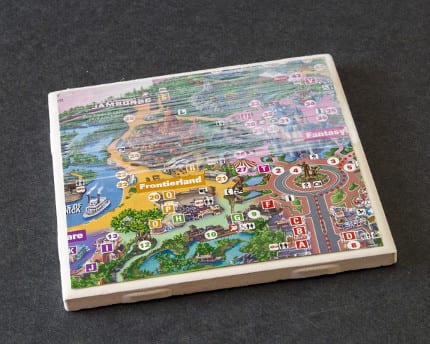
Step 3: Brush a layer of decoupage glue over the paper and tile, making sure your brushstrokes run in one direction (You’ll be able to see the strokes when the glue dries). Allow to dry for 10-15 minutes.
Step 4: Brush a second layer of decoupage glue over the paper and tile in the same direction as in Step 3 or in the opposite direction to create a crosshatch pattern. Allow to dry for 10-15 minutes. Repeat steps 3 and 4 until the desired look is achieved. (I used four layers of decoupage glue.)
Step 5: Apply a thin layer of acrylic sealer according to the sealer directions. Allow to dry completely.
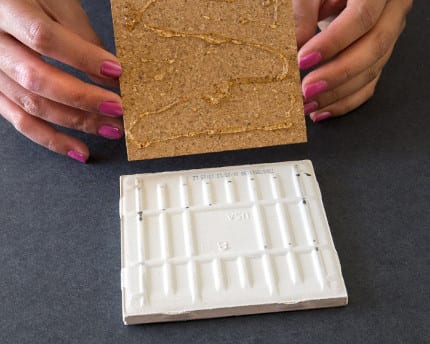
Step 6: Use crafting glue to attach a cork square to the back of the tile. (That way, you can use and stack your coasters without worrying about scratches.)
Repeat process with remaining tiles. Allow each to dry for at least 24 hours before use.
Which DIY Disney Side craft are you working on? Tell us in the comments!
- Disney Hotel wins Marriott Hotel of the Year Award - July 26, 2024
- All-Female Classic Universal Monsters Headline HHN House - July 25, 2024
- Howl-O-Sprint – Run for Your Life: Friday, Sept. 13 - July 24, 2024


