
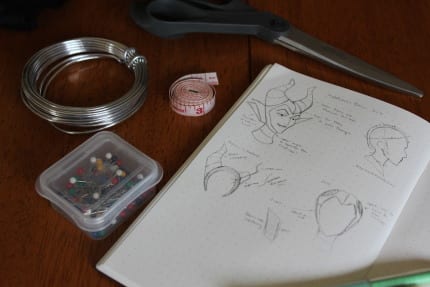
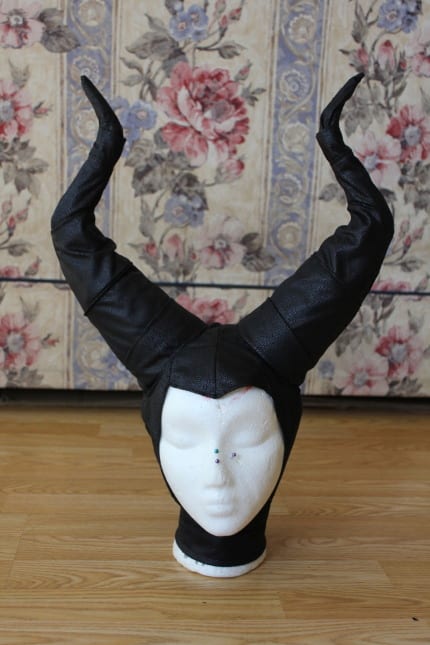
Well, well… are you ready for the ultimate, villainous Halloween DIY? One of our extremely talented designers recreated Maleficent’s iconic horns to be the finishing touch for a Mistress of All Evil Costume. This is a pretty advance sewing task, but if you’re up to the challenge, we’ve got the detailed instructions below:
Materials
Scrap Patterning Fabric
Headband
Black Fabric
Black Thread
Wire
Duct Tape
Aluminum Foil
Paper Cups
Snaps
Measuring Tape
Pins
Scissors
Pliers/Wire Cutters
Needle
Sewing Machine
Fabric chalk/pencil
Fabri-Tac
To prepare, take the following initial measurements:
Forehead to nape of neck
Crown of head to chin
Length of neck
Circumference of neck
Width of Paper cups
Structure of the Horns


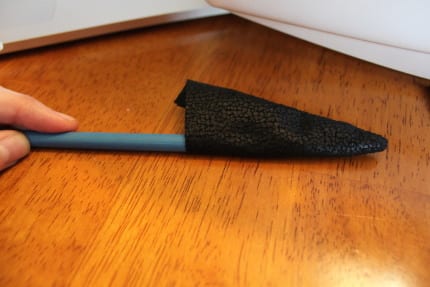
For the horns, decide where you want the paper cups (which are the base of each horn) to rest on the headband. Then measure how long you want your horns to be, keeping in mind the curves. Cut the wire to this length.
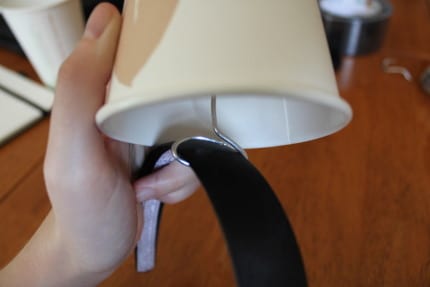
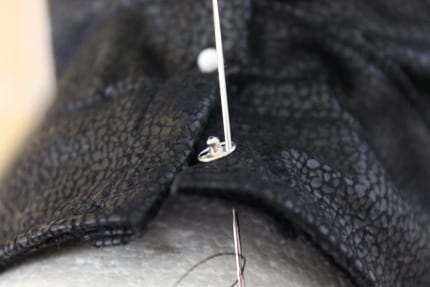
Poke a hole in the center of the paper cup for the wire to go through. Then, loop the wire around the headband, using pliers to tighten it. Thread the wire through each cup and loop the tips.
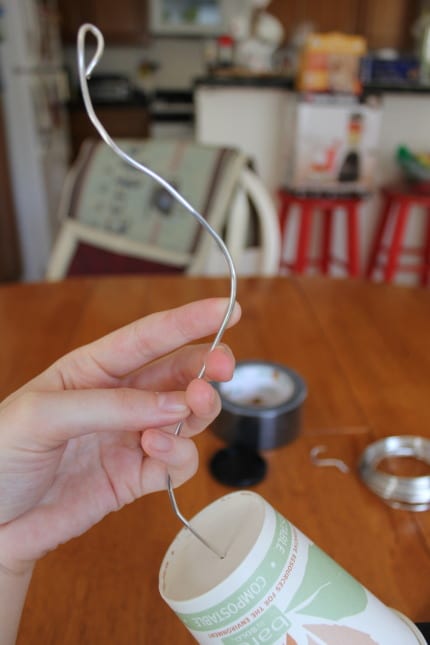
Bend each wire to your desired horn shape. Finally, ductape the cups to the headband for extra reinforcement.
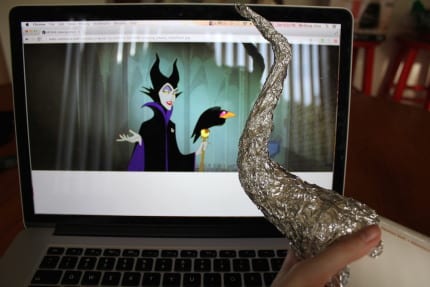
Using aluminum foil, wrap pieces around your horn skeleton to build up the desired shape and thickness and duct tape around it to keep it in place. Repeat for the other horn.
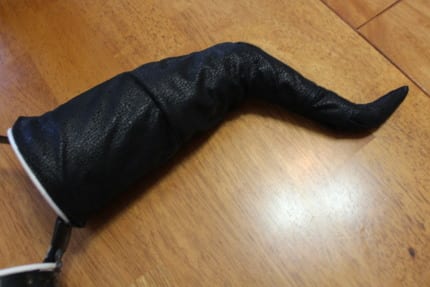
Covering the Horns
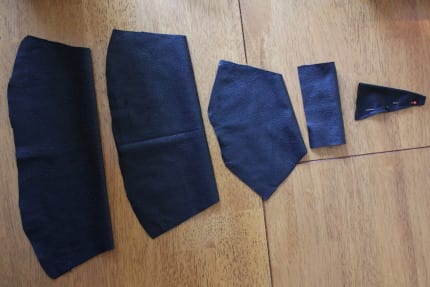
The fabric covering consists of several strips of black fabric wrapped around the horn. We recommend 4-5 strips in order for the fabric to mimic the shape of the horn, depending on how tall you want each strip to be. The strips closer to the base will have a curved bottom and slanted side, the ones the middle will be a little straighter, and the top piece is a triangle.
Here’s the tricky part:
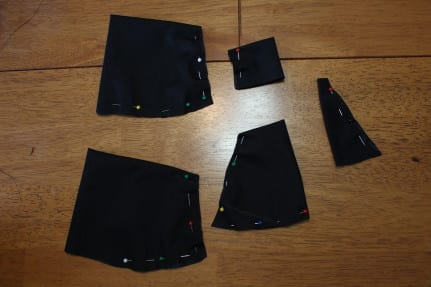
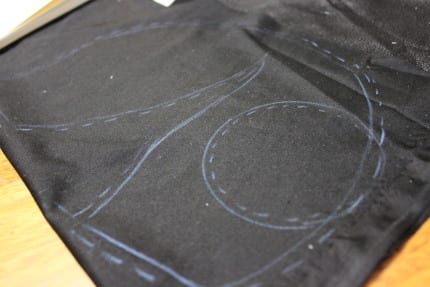
Fold the fabric in half on top and use your measurements to plot out the shape you need to cut.
Fold again so the right side is facing out. Do this for all strips except the top triangle, which will be sewed inside out and flipped out later.
Fold the edges of the bottom-most strip under and sew a seam. Attach the second piece to the bottom piece, and then attach the middle two pieces.
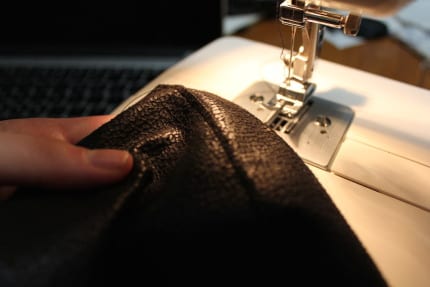
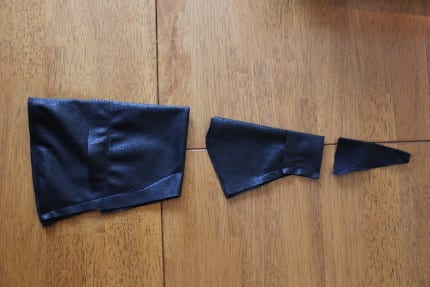 You should now have two pieces, plus that top triangle—sew the sides of each together, making sure the side you want visible is on the inside. Flip the pieces inside out.
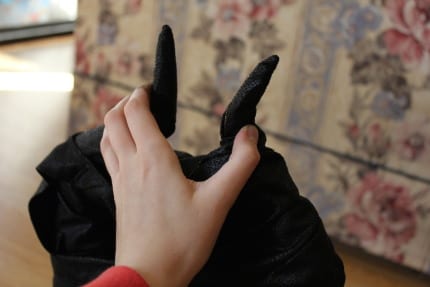
Sew the triangle’s side up, and flip it out as well. Pull the sections of the horn wrapping on, starting from the top and working your way to the bottom. Repeat on the other horn.
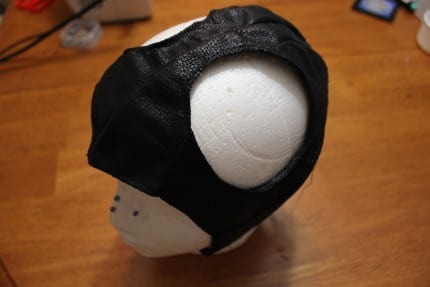
Creating the Skullcap
Pro tip: take the time to test out your measurements on some scrap fabric, to make sure the pattern is fitted to your head and not too big or too small.
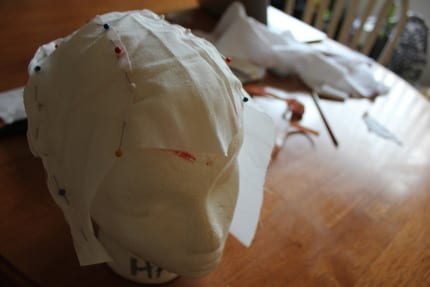
Using the shape of a generic skull cap (one strip down the middle and two curved pieces on either side) and your measurements, draw out the basic shape.
Leave enough fabric on the edges (about a quarter to a half inch) to allow for seams and hems on your headpiece and plot out the holes for the horns to poke through.
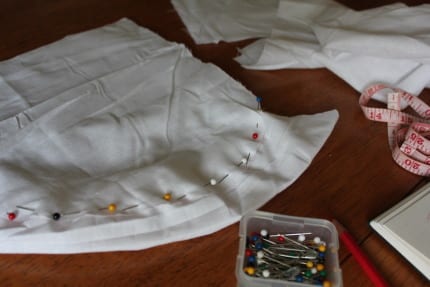
You will need two of each piece, so fold your black fabric in half, ‘wrong’ side out, and transfer your pattern to it.
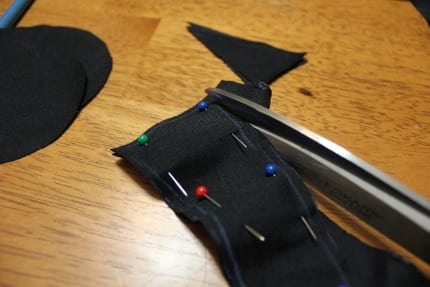
Pin the fabric down to make cutting easier, and snip out the pieces you’ll need.
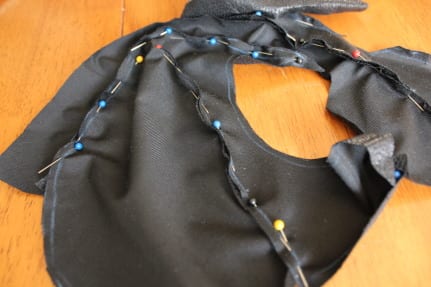
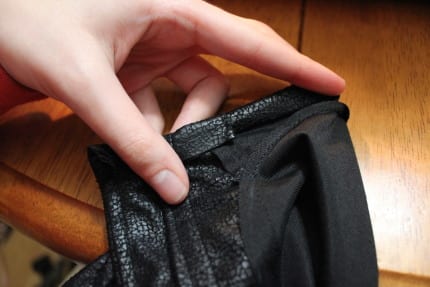
Then, pin and sew (on the ‘wrong’ side, so when you fold it out, your edges will be hidden) the two pieces of the middle strip together, but stop about halfway back. You’ll be adding snaps to the back part later.
Pin and sew the seam in the middle of each side piece up—this curves the piece to your head more. Then, pin and sew the side pieces to the middle strip, taking care to line up the cut-outs for the horns. The point of the middle strip is the front of that piece, and the holes are the front side of the side pieces.
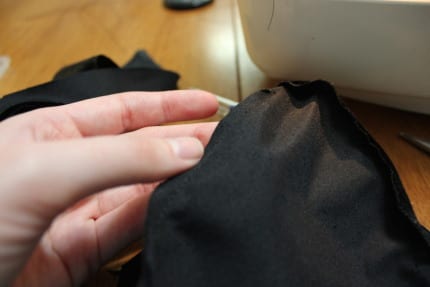
Hem the edges around the face and hem the circle openings.
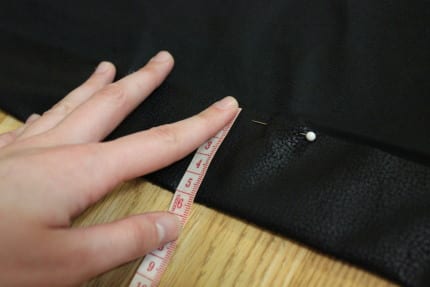
Fold fabric in half and cut out two rectangular strips for the collar, using your neck circumference measurement. Fold edges in and sew a hem on the bottom piece, then attach to the top piece.
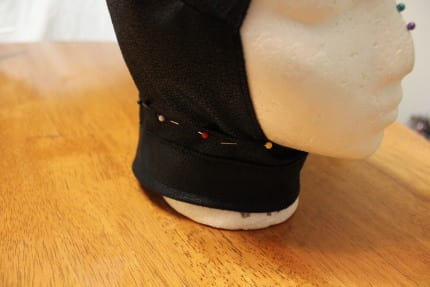
Attach the folded top of the collar to the base of the skullcap. It should stretch from one edge (where the snaps will go) to the other, with space in the middle for your chin to go.
Fold back edges of the collar over and hem.
Mark down where to put the snaps so the skullcap will lay flat in the back. Add snaps to close up the rest of the back of the skullcap.
Putting it all together
Put the headband with the horns on first. Carefully, squeeze the horns together and put the skullcap around it. Though they’re bendable, be careful not to break the headband! Pull skullcap down over your face and chin, then snap everything up in the back.
As co-owner and co-creator of The Main Street Mouse.Working in a technical support position for 18 years, it was time for a change.As the Webmaster and Project Planner, I spend most of my time researching everything from the latest Disney News, technology advances and of course keeping up on all the Marvel news that comes out.I never considered myself a writer but I’ve come to like blogging and sharing news with all.I feel blessed everyday that I get to spend my days working with my best friend and love of my life while we continue to grow and expand what started as a hobby all those years ago.
- Disney Receives First MICHELIN Star for Victoria & Albert’s - April 19, 2024
- Smellephants on Parade Arriving to Magic Kingdom Park - April 19, 2024
- Busch Gardens Tampa Bay Goes Wild for Earth Day - April 18, 2024